The benefits of a local Typekit sandbox
As any designer knows, choosing the right typeface is key. There are a number of system typefaces available for use in your typographic arsenal, but sometimes you need that little bit extra. Typekit is a fantastic resource that offers both a vast library of fonts and a simple alternative to the @font-face declaration to allow the use of non-standard typefaces in your projects.
What about implementing Typekit fonts in the design stage though? If you haven’t moved on to creating mockups in the browser, you’ll find that one of the biggest drawbacks about taking such an approach to typography is the cumbersome method required to move text between Typekit’s “type tester” sandbox and your image editor of choice. You can change the basics in this sandbox (size, weight and style) and if you want to get really clever, you can even inspect and modify the tester element for a little more control. After styling your text, you’ll need to screen grab the window and move it into your editor (Photoshop in my case) to crop and position. After numerous revisions, this can get mighty tedious.
Drawbacks
What about blocks of text? You don’t want to keep going back and forth to ensure your font size is correct and your line breaks are in the right place. Background colours? That’s a problem if your background is anything other than black or white. Multiple styles? It’s a tedious task stitching together different screen grabs in Photoshop to create headings. Revisiting your project later? If you’ve styled something relatively complex, you’ll lose it when you close the window. Similarly, you’ll have to override your current style when you want to create something new (alternatively, you’ll find yourself lost in a sea of Typekit windows). Above all though, there’s the headache of being constrained in a finicky fixed size box with very limited flexibility.
The solution
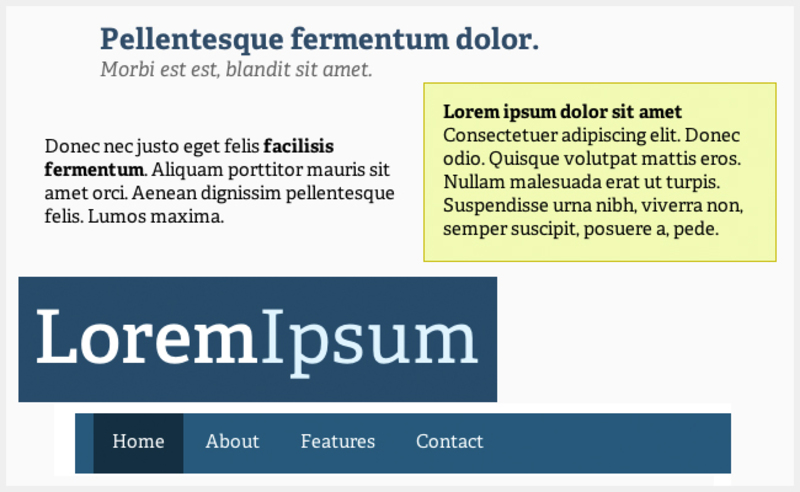
Fortunately, there is an easier and vastly more elegant solution. On a recent project, I began using a local Typekit sandbox — a static HTML page where I could run wild playing with my desired typeface and, as my design evolved, manipulate it with ultimate precision. Using basic HTML to markup my page and CSS to style it, I was able to easily create and style paragraphs, headings, lists, and, best of all, position text in boxes that fitted snugly into my Photoshop mockup. I could get things right in the window-sized sandbox, and then move them over to Photoshop when I needed. Plus, I could revisit my library of styles whenever I came back to the project.
How is it done?
If you’re a frequent Typekit user (or an equivalent service for that matter), consider creating a local sandbox. It’s a simple idea that’s relatively easy to implement too. You’ll need to serve your HTML page from at least http://localhost, which in OS X can be done using the built in Apache web server (under Web Sharing in Settings). Windows users can try something like WAMP as an alternative. Then, add your typeface to your Typekit project using the “kit editor”, making sure that that address under “kit settings” matches your local address (for me, it was sandbox.local). Finally, copy the provided JavaScript into the head of your HTML document and call the typeface using the CSS declarations outlined in the editor. You’re now good to go.
Ultimately, a local sandbox gives you the greatest control over typography in the design stage and you’ll never again have the headache of being constrained to an inflexible testing environment.